
Why Your Seedlings Keep Dying After Transplant
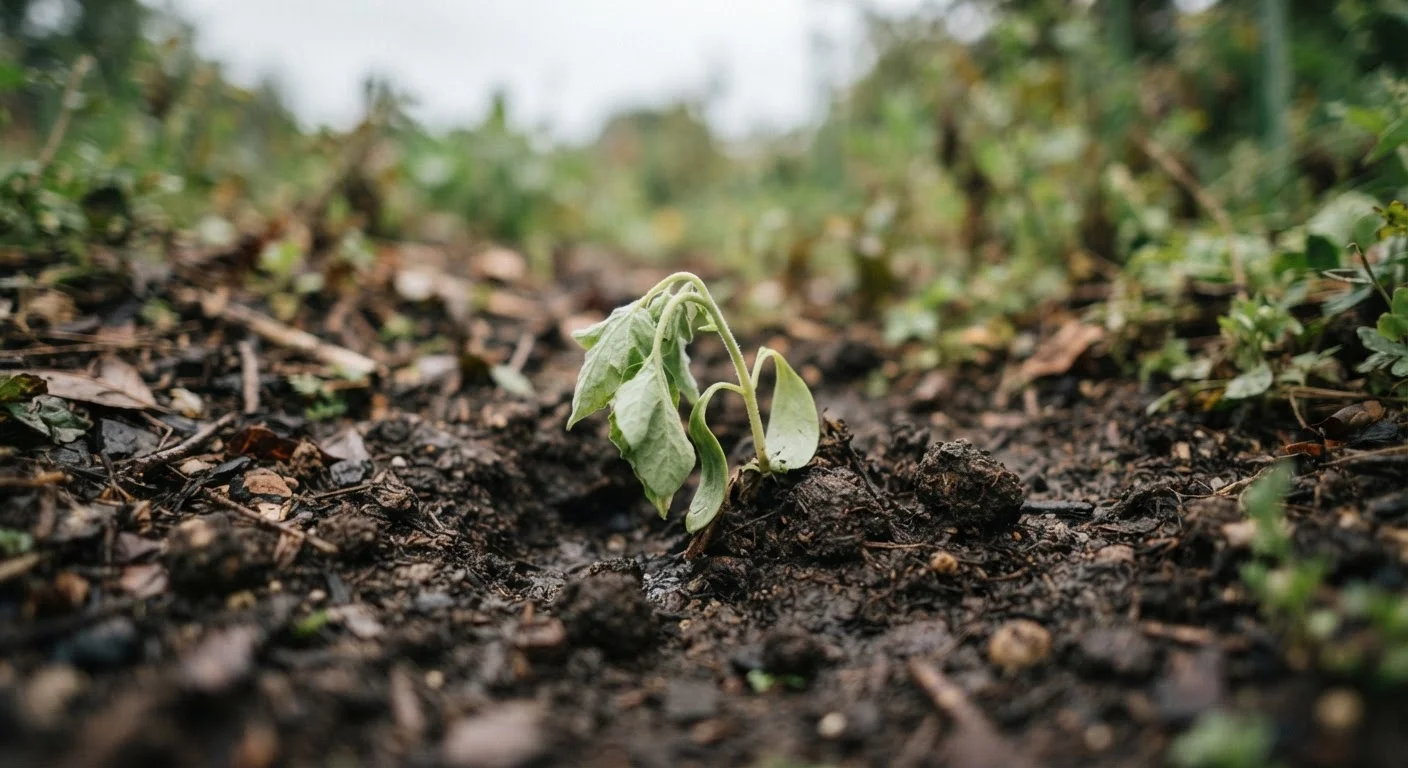
Photo credit: QuickInsights.net
Transplant shock is one of the most frustrating early gardening setbacks. Here's what causes it and how to give seedlings a better start.
Key Takeaways
- Transplant shock happens when seedlings can't adapt quickly enough to their new environment.
- Skipping hardening off is one of the most common reasons seedlings die after moving outdoors.
- Soil quality, watering habits, and transplant timing each play a significant role in seedling survival.
- Most transplant mistakes are preventable with a few simple adjustments before and during planting.
What Transplant Shock Actually Is
When a seedling is moved from the controlled warmth of a tray indoors to the open ground outside, it experiences a sudden shift in temperature, light intensity, wind exposure, and moisture availability. This stress response is commonly called transplant shock - and it's the leading reason beginner gardeners watch their young plants wilt, yellow, or collapse within days of planting.
The good news is that transplant shock isn't inevitable. It's almost always traceable to one or more specific mistakes made before or during the move. Understanding what those mistakes are - and why they happen - puts you in a much better position to avoid them.
Before you even think about transplanting, it's worth building some foundational knowledge. Our guide Soil Basics Every New Gardener Should Understand explains what healthy garden soil looks like and why it matters for young roots.
Skipping the hardening-off process before moving seedlings outdoors.
Why it happens: Many beginners don't realize that indoor-grown seedlings have never experienced direct sun, wind, or fluctuating temperatures. The transition feels minor to us but is genuinely extreme for the plant.
Transplanting too early in the season when soil or air temperatures are still too cold.
Why it happens: Eager gardeners often move seedlings out as soon as the last frost date passes, not realizing that cold soil slows root activity and leaves plants vulnerable to stress and disease.
Disturbing or breaking the root ball during transplanting.
Why it happens: Pulling seedlings from trays without loosening them first, or handling them by the stem, can tear fragile roots that are critical for water and nutrient uptake.
Watering inconsistently - either too much immediately after transplanting or neglecting the plant for several days.
Why it happens: There's a common belief that newly transplanted seedlings need heavy watering to "settle in," which can lead to waterlogged roots. Conversely, some gardeners assume the plant can fend for itself once it's in the ground.
Planting into poor or unprepared soil that doesn't support healthy root development.
Why it happens: New gardeners often transplant directly into compacted, nutrient-poor, or poorly draining native soil without amending it, not realizing how dramatically soil quality affects early survival.
How to Give Your Seedlings a Fighting Chance
Once you've recognized the common mistakes, a few consistent practices will dramatically improve your transplant success rate.
7-10 days
Recommended hardening-off period before transplanting
Horticultural extension programs consistently advise a gradual 7-10 day outdoor acclimation period to reduce seedling stress before full transplanting.
60°F+
Minimum soil temperature for warm-season transplants
Most warm-season vegetable seedlings struggle to establish in soil colder than 60°F, making soil temperature a key factor in transplant timing.
Time your transplants carefully. Early morning or late afternoon moves reduce heat stress. Overcast days are ideal - seedlings have time to settle before facing intense sun. Avoid transplanting into dry, compacted ground; loosen the soil to at least 6 inches and amend it if necessary.
Water thoughtfully, not automatically. After transplanting, water deeply to help roots make contact with surrounding soil. Then resist the urge to water again until you check moisture an inch below the surface. Consistent overwatering drowns roots just as surely as drought does. For a deeper look at this balance, see Watering Deeply vs. Watering Often.
Root Damage Is Often Invisible Until It's Too Late
A seedling can look perfectly healthy for two to three days after transplanting even if its roots were seriously damaged during the move. By the time wilting or yellowing appears, the plant is already under significant stress. Handle the root ball gently every time - there are no visible warnings when you've gone too far.
Protect newly transplanted seedlings with a cloche, row cover, or even an upturned plastic bottle for the first week. This buffers wind and temperature swings while roots establish. Remove covers gradually as plants show new growth - a sign the shock period has passed.
If you're building a garden from scratch this season, Starting a Vegetable Garden from Scratch walks through the full planning and planting process step by step.

Author
Home & Garden Editorial Team
Home & Garden Editorial Team is the collective byline for our editorial team and contributor network. Articles published under this byline or an editorial pen name are researched, written, and reviewed according to our editorial standards for clarity, consistency, and independence before publication.
View all articles →