
Caulking and Weatherstripping: A Practical Introduction for First-Time Homeowners
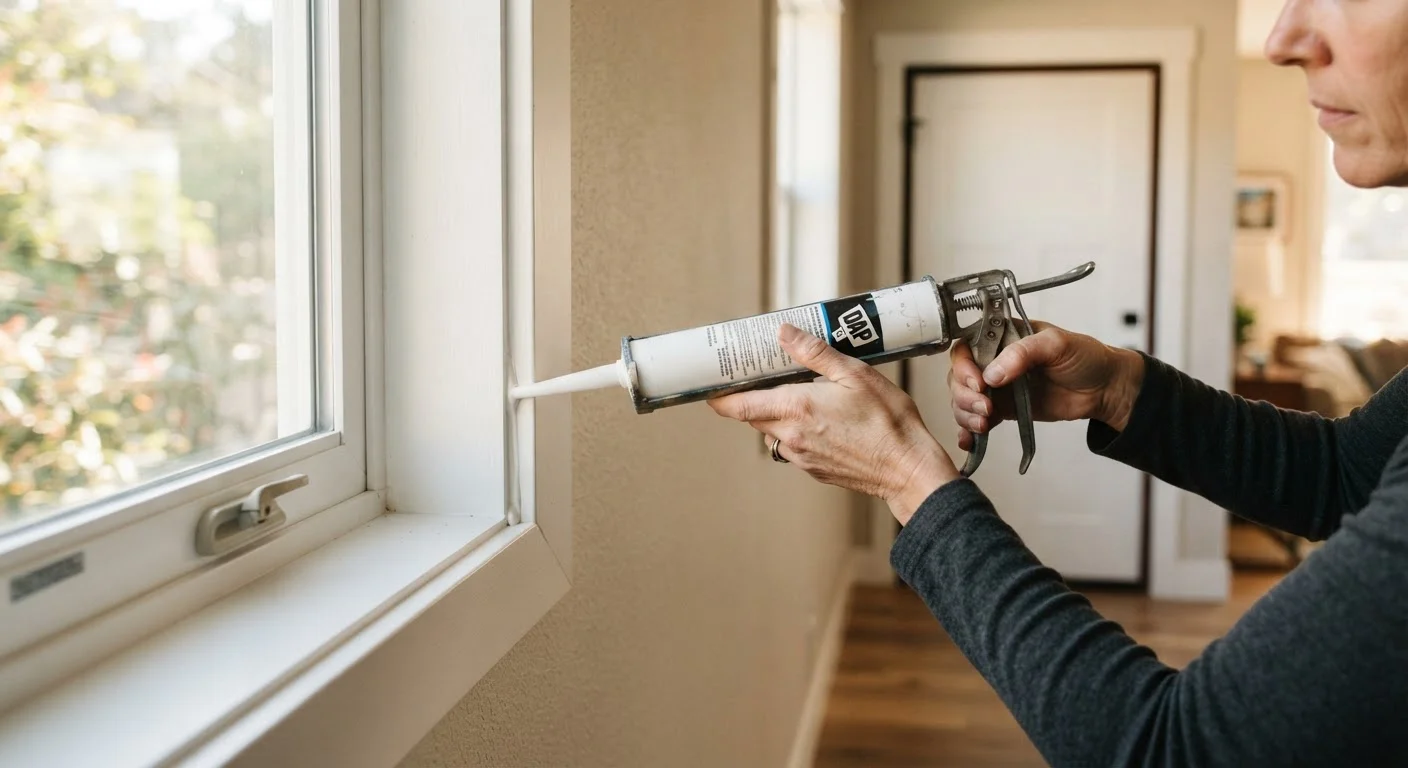
Photo credit: QuickInsights.net
In this article
Drafts and moisture leaks are expensive. This beginner-friendly guide explains what caulking and weatherstripping do and how to approach both tasks.
Key Takeaways
- Caulk seals stationary gaps around windows, doors, and pipes; weatherstripping seals movable joints on doors and operable windows.
- Both tasks are considered beginner-friendly DIY projects requiring only basic tools and modest materials.
- Damaged seals allow conditioned air to escape and moisture to enter, potentially leading to mold or structural damage.
- Regular inspection - at least annually - helps you catch failing seals before problems escalate.
- Choosing the right type of caulk or weatherstripping for the location is just as important as applying it correctly.
Why Air and Moisture Sealing Matters
Every home develops gaps over time. Seasonal temperature swings cause building materials to expand and contract, framing settles, and the adhesives in older seals simply wear out. The result is a network of small openings around windows, doors, pipes, and trim that quietly drain your home's energy and invite moisture where it doesn't belong.
Air leaks force your heating and cooling system to work harder to maintain a comfortable temperature. Moisture intrusion is a slower threat - entering through gaps, it can promote mold growth and, over time, weaken wood framing or drywall. Both problems are far more expensive to address once they've taken hold than they are to prevent.
Caulking and weatherstripping are the two primary tools homeowners use to close these gaps. They're among the most accessible maintenance tasks available - no specialized licenses required, no structural alterations involved - and they're a natural starting point if you're building a maintenance routine. This guide is part of a broader new homeowner maintenance foundation that covers every major home system.
Caulking: What It Is and Where It Goes
Caulk is a flexible sealant used to fill stationary gaps - joints and seams that don't move. It comes in tubes and is applied using a caulk gun, which lets you run a continuous bead of material along a gap before smoothing it into place.
Caulk
A flexible, paste-like sealant that fills and seals stationary gaps and joints between building materials. It cures to form a durable, airtight or watertight seal.
Weatherstripping
A strip of compressible or flexible material installed around door and window openings to seal gaps when they are closed while still allowing them to open.
Air infiltration
The unintended movement of outdoor air into a home through gaps, cracks, and openings in the building envelope. Excess infiltration increases heating and cooling costs.
Bead
The continuous line of caulk applied along a gap or joint. Achieving a smooth, consistent bead is the main technique goal when caulking.
Building envelope
The physical barrier between the interior of a home and the outdoors - including walls, roof, windows, doors, and foundation - that controls heat, air, and moisture flow.
Door sweep
A weatherstripping component attached to the bottom edge of a door that closes the gap between the door and the floor or threshold when the door is shut.
Common locations for caulk include:
- Around window and door frames where the trim meets the wall or the frame meets the siding
- Where pipes and wires enter the home through walls or floors
- At the base of bathtubs and showers where fixtures meet tile or wall surfaces
- Along baseboards in rooms where drafts are noticeable
Not all caulk is the same. Acrylic latex caulk is easy to apply, cleans up with water, and accepts paint - making it practical for interior trim work. Silicone or siliconized latex blends are more flexible and moisture-resistant, making them better suited for exterior joints or wet areas like bathrooms. Reading the product label to match caulk to the application is an important first step.
Weatherstripping: Sealing Moving Parts
While caulk handles stationary gaps, weatherstripping addresses the seams around moving components - primarily entry doors, garage doors, and operable windows. These joints can't be permanently sealed because they need to open and close, so weatherstripping uses compressible or flexible materials that create a seal when the door or window is shut but allow normal operation.
Several common weatherstripping types exist, each suited to different situations:
- Adhesive-backed foam tape - the most beginner-friendly option, it sticks directly to the door stop or window sash and compresses when closed. Best for low-traffic areas or irregular gaps.
- V-strip (tension seal) - a folded strip of plastic or metal that springs open to fill the gap along the sides of doors and double-hung windows. Durable and low-profile.
- Door sweeps - attached to the bottom of a door, these block the gap between the door and the threshold. Many screw directly to the door face and can be trimmed to width.
- Door shoe and threshold seals - more integrated solutions that replace or augment the threshold itself for a tighter fit.
When replacing weatherstripping, remove all old material first and clean the surface. Measure twice before cutting - a gap or overlap in the seal defeats the purpose.
Check the Fit Before Cutting
Before cutting weatherstripping to length, close the door slowly and observe where contact is uneven. Doors aren't always perfectly square, so gaps may be wider at one corner than another. Accounting for this before you cut prevents wasted material and ensures better coverage.
How to Spot Problem Areas in Your Home
Before you buy any materials, walk through your home with a focused eye. On a cold or windy day, hold the back of your hand near door and window frames, electrical outlets on exterior walls, and where pipes enter rooms. A noticeable temperature difference or a faint draft signals a gap worth addressing. A stick of incense or a tissue can make subtle airflow visible.
Outdoors, inspect caulk joints around windows, doors, and where different building materials meet - such as where wood siding meets a brick chimney or where the foundation meets the framing. Look for cracks, gaps, or areas where old caulk has pulled away from the surface. Discoloration or soft spots on interior walls near windows may indicate moisture entry through failed seals.
For a more thorough seasonal check, consider pairing this inspection with your broader winter preparation routine. Our guide on preparing your home for winter offers a structured checklist that covers sealing alongside other cold-weather tasks. If your home has attic access, note that attic insulation and ventilation work together with air sealing at the living level to keep your home efficient.
Getting the Job Done: Practical Tips for Beginners
Caulking and weatherstripping projects share a few principles that make them more likely to succeed on the first attempt:
- Prepare the surface. Remove old caulk completely with a caulk-removal tool or utility knife. Clean the area with a dry cloth. For weatherstripping, ensure the door stop or sash is free of debris and the old adhesive residue is gone. Sealants bond poorly to dirty or damp surfaces.
- Work in suitable conditions. Most caulks require surfaces to be dry and above a minimum temperature - commonly around 40°F - to cure properly. Check the product instructions before working on a damp or cold day.
- Cut the caulk tube tip at a shallow angle. A small opening gives you more control. You can always widen it, but you can't undo a cut that's too large. Apply steady, even pressure on the caulk gun trigger as you move along the gap.
- Smooth the bead promptly. Run a moistened finger or a caulk smoothing tool along the bead immediately after application. This presses the material into the gap and creates a neater finish. Don't let it skin over before smoothing.
- Test before considering the job done. After weatherstripping, close the door and check for light gaps around the perimeter. After caulk cures, feel for remaining drafts.
These are low-stakes projects to practice on - mistakes are easy to correct before the material cures, and the skills transfer to larger home improvement projects as your confidence grows.
U.S. Department of Energy - Air Sealing Your Home
The DOE's Energy Saver resource explains where homes typically leak air and provides general guidance on sealing priorities. A useful reference for understanding the scope of air sealing beyond windows and doors.
Home Maintenance Inspection Checklist
A seasonal checklist template helps you document gaps, failing seals, and areas to revisit during each inspection round so nothing slips through the cracks over time.
Frequently Asked Questions

Author
Home & Garden Editorial Team
Home & Garden Editorial Team is the collective byline for our editorial team and contributor network. Articles published under this byline or an editorial pen name are researched, written, and reviewed according to our editorial standards for clarity, consistency, and independence before publication.
View all articles →