
Composting at Home: Turning Kitchen Scraps into Garden Gold
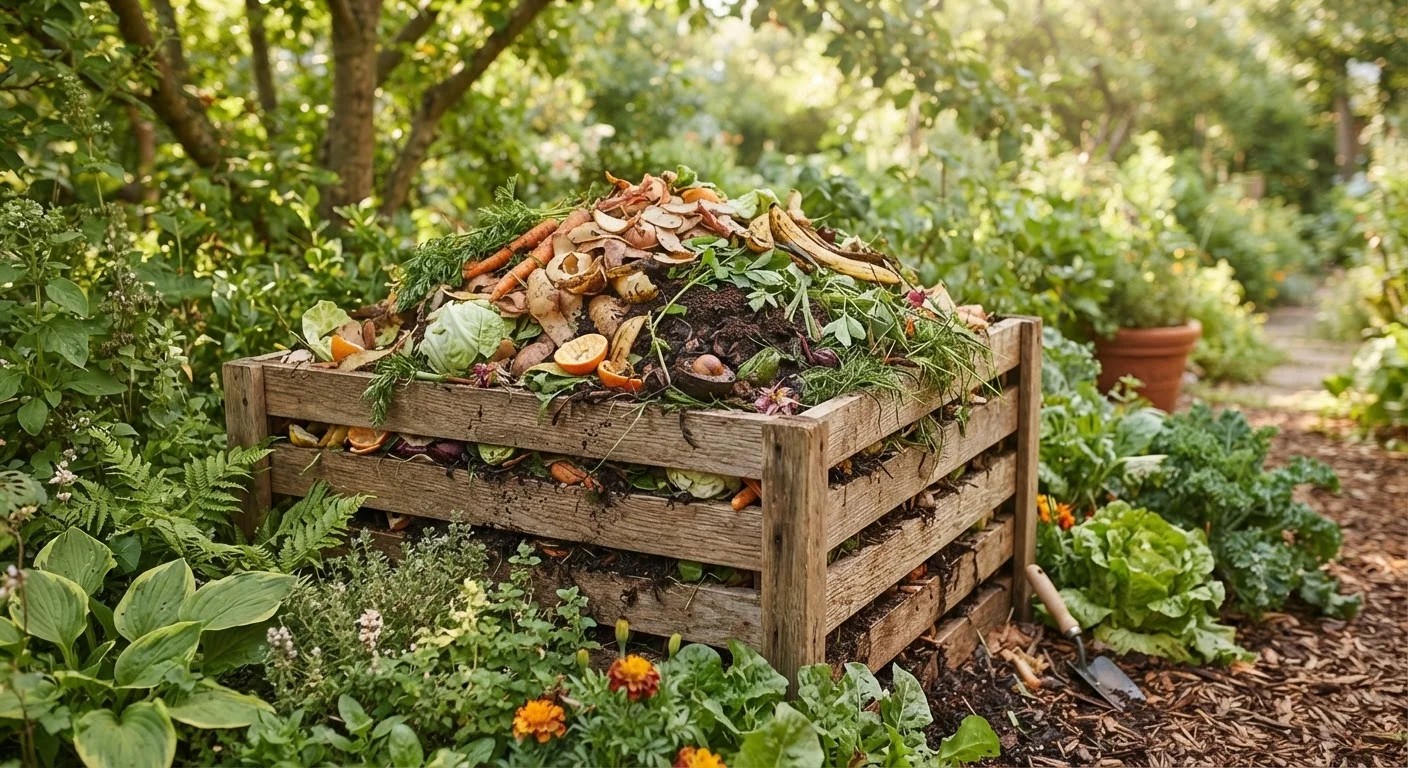
Photo credit: QuickInsights.net
In this article
Learn the fundamentals of backyard composting — what to add, what to avoid, and how to maintain a pile that breaks down efficiently.
Key Takeaways
- Compost needs a balance of carbon-rich browns and nitrogen-rich greens to break down effectively.
- Meat, dairy, and oily foods should never go in a home compost pile.
- Moisture and aeration are the two most important ongoing maintenance factors.
- Finished compost is dark, crumbly, and smells like fresh earth - not rot.
- Most home piles produce usable compost within two to six months with regular turning.
Why Composting Is Worth the Effort
Kitchen scraps and yard waste make up a significant share of what most households send to the landfill. Composting redirects that organic material into something genuinely useful: a dark, nutrient-rich soil amendment that improves drainage in clay soils, adds body to sandy soils, and feeds the microbial life that healthy plants depend on. If you've been working to improve your garden beds, understanding composting pairs naturally with what makes healthy garden soil.
Beyond the garden benefits, composting reduces household waste and avoids the methane emissions that organic matter produces when buried in landfills. It also costs very little to start. A basic pile in a back corner of the yard or a simple bin requires no ongoing purchases and pays for itself quickly in reduced fertilizer and amendment costs.
What Goes In - and What Stays Out
Compost works by feeding microorganisms that break down organic material. To keep those microbes active and your pile odor-free, you need a mix of two types of inputs:
- Browns (carbon-rich): Dry leaves, cardboard torn into small pieces, paper bags, straw, and wood chips. These provide structure and prevent the pile from becoming a soggy, smelly mass.
- Greens (nitrogen-rich): Vegetable and fruit scraps, coffee grounds and filters, tea bags (remove staples), fresh grass clippings, and garden trimmings.
A rough guideline is to aim for about two to three parts browns for every one part greens by volume. Too many greens and the pile turns slimy and odorous; too many browns and decomposition stalls.
Foods That Wreck a Home Compost Pile
Meat, fish, bones, dairy products, and oily or greasy foods will attract rodents and other pests to your pile and can introduce harmful bacteria. Pet waste - including cat litter - should never be composted in a system whose output will be used on food plants. Diseased plant material can spread pathogens back into your garden if the pile doesn't heat up sufficiently to kill them.
Leave these out entirely: meat, fish, bones, dairy, eggs, oily or greasy foods, pet waste, diseased plant material, and anything treated with pesticides. These either attract pests, introduce pathogens, or resist decomposition in a home pile.
Setting Up Your Compost System
You don't need elaborate equipment. A pile on bare soil works - direct ground contact lets worms and beneficial insects move in freely. That said, an enclosed bin or a simple three-sided frame made from pallets contains the material, retains heat, and keeps animals out more reliably.
What you will need
Choose a spot with partial shade to keep the pile from drying out too quickly, and make sure it's reasonably accessible from the kitchen and garden. A spot within easy reach of a garden hose is helpful during dry stretches.
Once your system is ready, add material in loose layers rather than compacting it - airflow is essential. If you're planning a vegetable garden, finished compost will be one of your most valuable inputs; see the full walkthrough in starting a vegetable garden from scratch.
How to Build and Maintain an Active Pile
Choose your bin or pile location
Pick a level spot on bare soil, at least 3 feet square. Partial shade is ideal. If using a bin, position it so the lid or front panel is easy to open for adding material and turning.
Start with a brown base layer
Add a 4- to 6-inch layer of dry leaves, torn cardboard, or wood chips directly on the soil. This base layer promotes drainage and gives worms and insects an immediate foothold.
Add greens and layer with browns
Add a 2- to 3-inch layer of kitchen scraps or fresh yard trimmings, then cover immediately with another layer of browns. This layering pattern controls odor and maintains the carbon-to-nitrogen balance.
Check and adjust moisture
The pile should feel like a wrung-out sponge - damp but not dripping. If it's dry, add water with a hose and mix it in. If it's waterlogged, add more browns and turn the pile to introduce air.
Turn the pile regularly
Every one to two weeks, use a pitchfork or compost turner to move material from the outside of the pile toward the center. This reintroduces oxygen and helps all the material break down at a similar rate.
Harvest finished compost
After two to six months, the bottom and center of the pile should yield dark, crumbly, earth-smelling compost. Shovel out the finished material, set aside any unfinished chunks to add back to an active pile, and apply the compost to your garden beds.
Consistent maintenance separates a productive pile from a neglected heap that never seems to change. Once your pile is established, the main ongoing tasks are checking moisture and turning the material to reintroduce oxygen. A properly active pile will feel warm in the center - that warmth signals microbial activity. If you stop noticing heat, the pile likely needs more greens, more water, or a good turning.
Finished compost is ready to use when it no longer resembles the original materials - it should be dark brown, uniformly crumbly, and smell like damp earth. Spread it as a soil amendment before planting, work it into new beds, or use it alongside mulching your garden beds for layered soil health benefits.

Author
Home & Garden Editorial Team
Home & Garden Editorial Team is the collective byline for our editorial team and contributor network. Articles published under this byline or an editorial pen name are researched, written, and reviewed according to our editorial standards for clarity, consistency, and independence before publication.
View all articles →